Blog Post

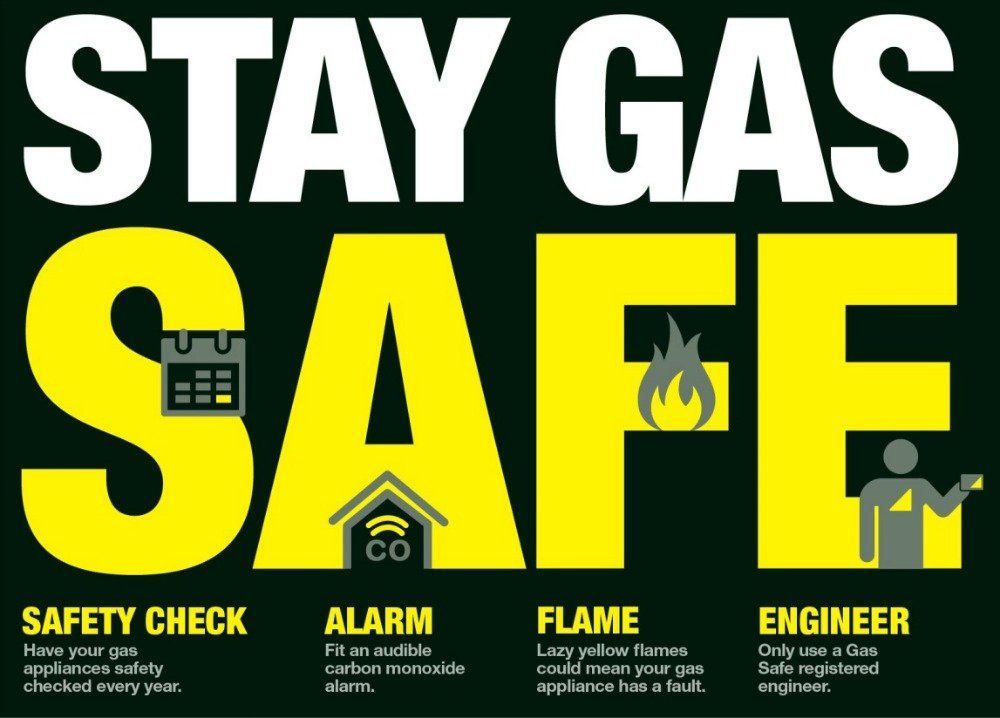
Stay Gas Safe

  • by Christopher O'BRIEN
  • 06 Nov, 2017

It's official, I have a blog and I know how to use it.

I have finally decided to take the plunge and add a blog to my site. I always wanted an easy way to share information with visitors and I'm super excited to start this journey. Keep coming back to my site and check for updates right here on the blog.

My first blog is how to stay Gas Safe.

  1. Have all gas appliances in your property safety checked annually by a Gas Safe registered engineer.  To ensure all of your gas appliances are safe and running correctly it is advisable to get them serviced once a year.
  2. Find or check a Gas Safe registered engineer in your area  using the Gas Safe online search or call Gas Safe on 0800 408 5500.
  3. Make sure you ask to see your engineer’s Gas Safe Register ID card both front and back. The front will confirm their registration and identity, the back will confirm they can do the gas work you’ve employed them to do.
  4. Stay aware of the symptoms of carbon monoxide poisoning  – headaches, dizziness, nausea, breathlessness, collapse and loss of consciousness.
  5. Look out for warning signs that a gas appliance isn’t working properly – lazy yellow flames, excessive condensation and black marks/stains. However, bear in mind that an appliance can be unsafe without displaying these symptoms, so best practice is to have your appliances checked every year.
  6. Buy an audible carbon monoxide alarm and install it (in accordance with manufacturer’s guidelines) near to your gas appliance. Alarms are a strong second line of defence against carbon monoxide poisoning.
  7. Use gas appliances for their intended purposes only, e.g. do not use a cooker to heat a room.
  8. Provide enough ventilation for gas appliances to burn correctly and make sure no air vents or chimneys are blocked.
  9. If you know of anyone doing gas work outside of Gas Safe registration, they are breaking the law. You can report them to Gas safe.
  10. If you're a tenant in a rented property, make sure your landlord provides you with an annual gas safety check - This is an inspection of all gas appliances which must be carried out once a year by law.
by Christopher O'BRIEN 29 Jan, 2018

STEP 1 - Turn on heating

Turn on your central heating, and get radiators up to temperature.  You are checking to see if they are hot all over, be careful though as they can get very hot!.

STEP 2 - Identifying radiators which need attention

If you have radiators that are cold at the top but are hot lower down, then this is a sign you have air in that radiator.  make a note of all radiators that are cold at the top, then move on to step 2.

STEP 2 - Bleeding Radiators

Switch off the heating and allow the radiators to cool.

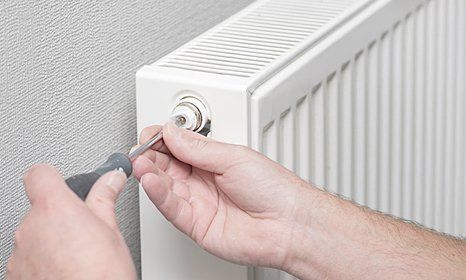
Once cool, use a radiator key (which you can purchase from any DIY store or online) and a large cloth to catch the water.

Find the bleed valve which will be at the top of the radiator either on the left or right hand sider.

Insert the radiator key and hold the cloth under the valve, turn the key slowly until you start to hear a hiss, this is the air being removed.  Once all the air is removed you will start to get water coming out the valve, quickly turn the key to shut the valve and move on to the next radiator.

Remove the air from all the radiators you noted as having air.

STEP 3 - Check system Pressure

If you have an open system ( small tank in the loft with a ball valve) then the system will fill itself back up and no further action is required.

If you have a sealed system ( where you have to manually top the pressure up) find the pressure gauge and check that you have at least 1 BAR of pressure.

If you do need to top the pressure up, find the filling loop and top the pressure up to just over the 1 BAR position.

You should check the gauge again later, after a couple of hours of no heating just in case the pressure has dropped a bit more.  Just top it back up to just over the 1 BAR position.


That is it you have successfully removed the air from your radiators.


More posts
Share by: